


Lynda Heines got me started adding voiceovers to my posts and now I’m hooked. Instead of listening to the news while I’m cleaning, cooking, or sewing, I listen to Speakers’ Corner, Projectkin Live, Emma Explores, Kathy’s Corner, and other Substack video posts. But can I listen to Lori Olson White’s Margin Notes: Four Bullets at Baler Bay?”
Text-to-speech is available in the app, and AI will read the post. The app is available for iOS and Android. Sadly, the feature is not available when I access Substack via the internet. But text-to-speech is now available for all posts through the app. There was no triangular play button for Four Bullets at Baler Bay, but Winter Schoolhouses by Misty Hamilton Smith - Author played just fine, and the voice was beautiful.
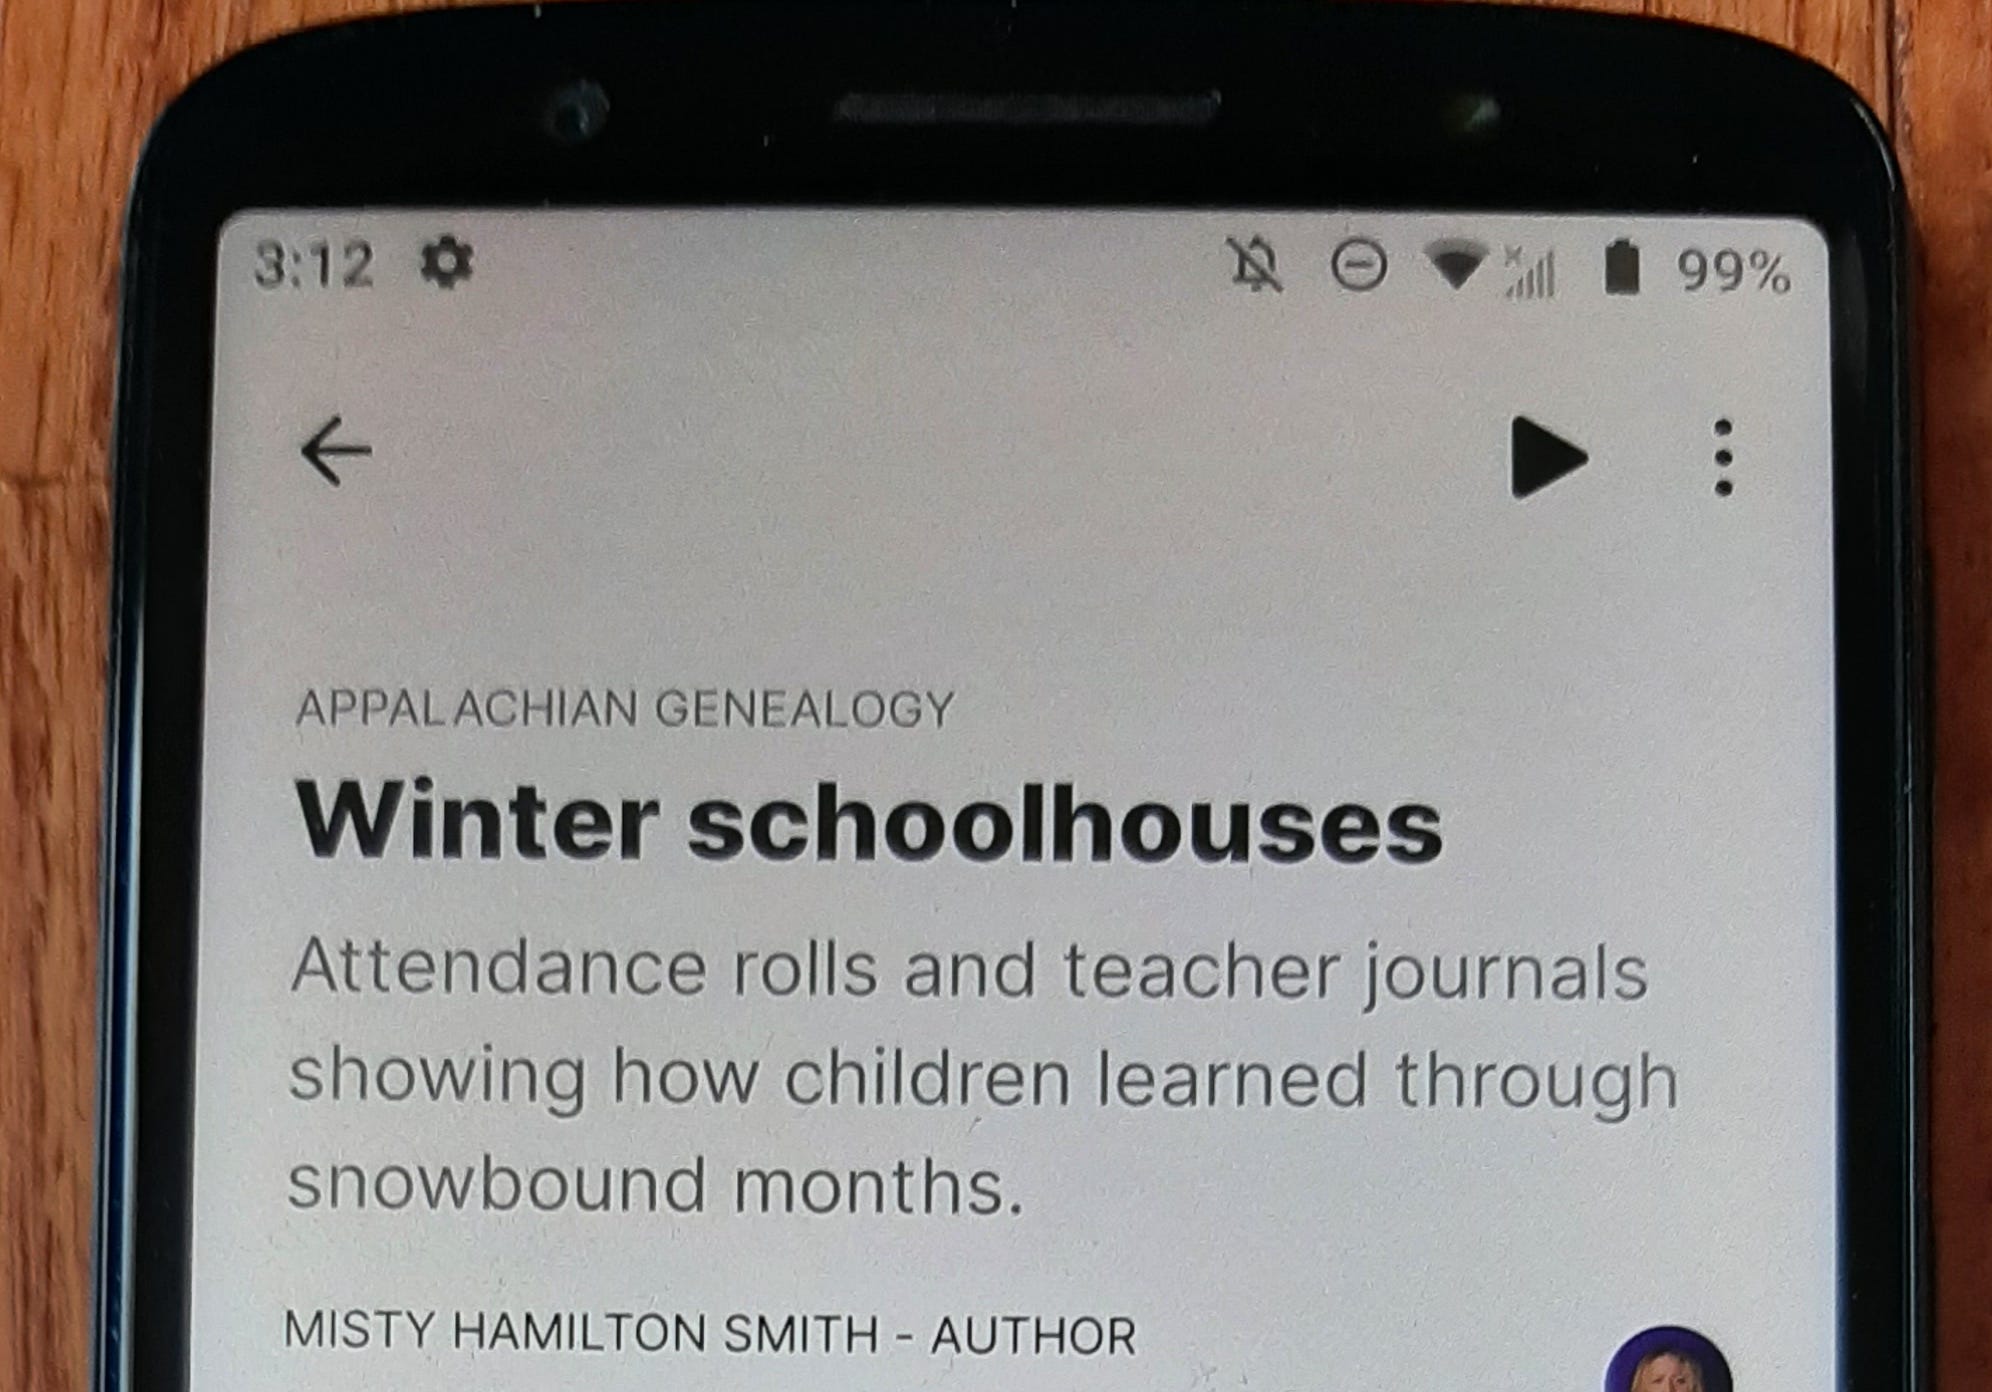
As a writer, you pick the voice. Go to the settings for your publication, click on branding, and choose a read-aloud voice. I chose Taylor. But none of my articles have the play button on the app. Substack’s AI has submitted a bug report.
You also have the option of adding your own voiceover. This voiceover is available to your readers who access Substack via the app or a browser. You can record your voiceover directly into Substack. You can’t edit the audio file, so I don’t recommend it. I prefer to create an audio file with Audacity and then upload it to Substack.
Audacity is a free program for recording and editing audio available for Windows, macOS, and Linux.

It is fairly simple to record a voiceover. I hit the red dot to record, I read the post, I hit the square button to stop. Then I hit File > Export Audio. Once that is done, I hit the X to close, and it asks if I want to save the project, which I do.
I’m not perfect when I record, but I keep going. If I mess up a word or sentence, I repeat it as many times as I need to get it right. After exporting the audio and saving the project, I open the WAV file. I scroll in a little to make editing easier.
I usually have background noise — like the furnace blowing. I highlight a portion of where the audio track looks like a flat line (hold down the mouse button and drag), I click on Effect > Noise Removal and Repair > Noise Reduction > Get Noise Profile. Then I hit Control A to highlight everything, Effect > Noise Removal and Repair > Noise Reduction > Okay.
Next, I start cutting. Again, hold down the mouse button and drag to highlight the portion you want to cut, and then hit delete. Once the editing is done, I Export Audio. I give it the same name as the original file and add edited. This time, I don’t save the project.
I now have an MP3 (or WAV) file, which I drag and drop into Substack after hitting the insert audio icon (it looks like headphones).
Walk Through
Additional Reading/Viewing:
Substack Help Center - How do I listen to a Substack post?
Sustack Help Center - How do I add a voiceover to my Substack post?

Call for Contributors
Why should we all have to learn the hard way? Please share what you’ve learned. Email me at YourFamilyQuest@gmail.com
Upcoming Events:
Sunday, 4 January 2026 at 10 am/1 pm (PST/EST) Projectkin Live: Speakers’ Corner Preview: Live with Marian Beaman and Xanthe Hall

Tuesday, 6 January 2026 at 10 am/1 pm (PST/EST) Mission: Genealogy Atlantic Gathering
Tuesday, 6 January 2026 at 4 pm/7 pm (PST/EST) Mission: Genealogy Pacific Gathering
Thursday, 8 January 2026 at 10 am/1 pm (PST/EST) Speakers’ Corner: Tragedy Strikes Families in England and the US with Xanthe Hall and Marian Beaman
Deborah, Great post! I need to do that for mine and now I know how to. Thanks!! And thanks for the mention and link!
An interesting post. I may end up doing the same myself, but I don't plan to go with the A.I. text to voice, and my posts/newsletter issues are pretty long, so it could take a while to do that.